-
 Afrikaans
 -
 Albanian
 -
 Amharic
 -
 Arabic
 -
 Armenian
 -
 Azerbaijani
 -
 Basque
 -
 Belarusian
 -
 Bengali
 -
 Bosnian
 -
 Bulgarian
 -
 Catalan
 -
 Cebuano
 -
 China
China -
 Corsican
 -
 Croatian
 -
 Czech
Czech -
 Danish
 -
 Dutch
Dutch -
 English
 -
 Esperanto
 -
 Estonian
 -
 Finnish
 -
 French
 -
 Frisian
 -
 Galician
 -
 Georgian
 -
 German
 -
 Greek
Greek -
 Gujarati
 -
 Haitian Creole
 -
 hausa
hausa -
 hawaiian
 -
 Hebrew
 -
 Hindi
Hindi -
 Miao
Miao -
 Hungarian
 -
 Icelandic
 -
 igbo
igbo -
 Indonesian
 -
 irish
irish -
 Italian
 -
 Japanese
 -
 Javanese
 -
 Kannada
 -
 kazakh
 -
 Khmer
Khmer -
 Rwandese
 -
 Korean
 -
 Kurdish
 -
 Kyrgyz
 -
 Lao
Lao -
 Latin
Latin -
 Latvian
 -
 Lithuanian
 -
 Luxembourgish
 -
 Macedonian
 -
 Malgashi
 -
 Malay
Malay -
 Malayalam
 -
 Maltese
 -
 Maori
Maori -
 Marathi
 -
 Mongolian
 -
 Myanmar
 -
 Nepali
 -
 Norwegian
 -
 Norwegian
 -
 Occitan
 -
 Pashto
 -
 Persian
 -
 Polish
 -
 Portuguese
 -
 Punjabi
 -
 Romanian
 -
 Russian
 -
 Samoan
 -
 Scottish Gaelic
 -
 Serbian
 -
 Sesotho
 -
 Shona
Shona -
 Sindhi
 -
 Sinhala
 -
 Slovak
 -
 Slovenian
 -
 Somali
 -
 Spanish
 -
 Sundanese
 -
 Swahili
 -
 Swedish
 -
 Tagalog
 -
 Tajik
Tajik -
 Tamil
Tamil -
 Tatar
Tatar -
 Telugu
 -
 Thai
Thai -
 Turkish
 -
 Turkmen
 -
 Ukrainian
 -
 Urdu
Urdu -
 Uighur
 -
 Uzbek
Uzbek -
 Vietnamese
 -
 Welsh
Welsh -
 Bantu
Bantu -
 Yiddish
 -
 Yoruba
 -
 Zulu
Zulu
installing bird netting
Installing Bird Netting A Comprehensive Guide
Bird netting has emerged as a popular solution for protecting crops, gardens, and property from unwanted avian visitors. The installation of bird netting, however, requires careful planning and execution to ensure it is effective and durable. In this article, we will cover everything you need to know about installing bird netting, including the types of netting available, preparation steps, and tips for successful installation.
Understanding Bird Netting
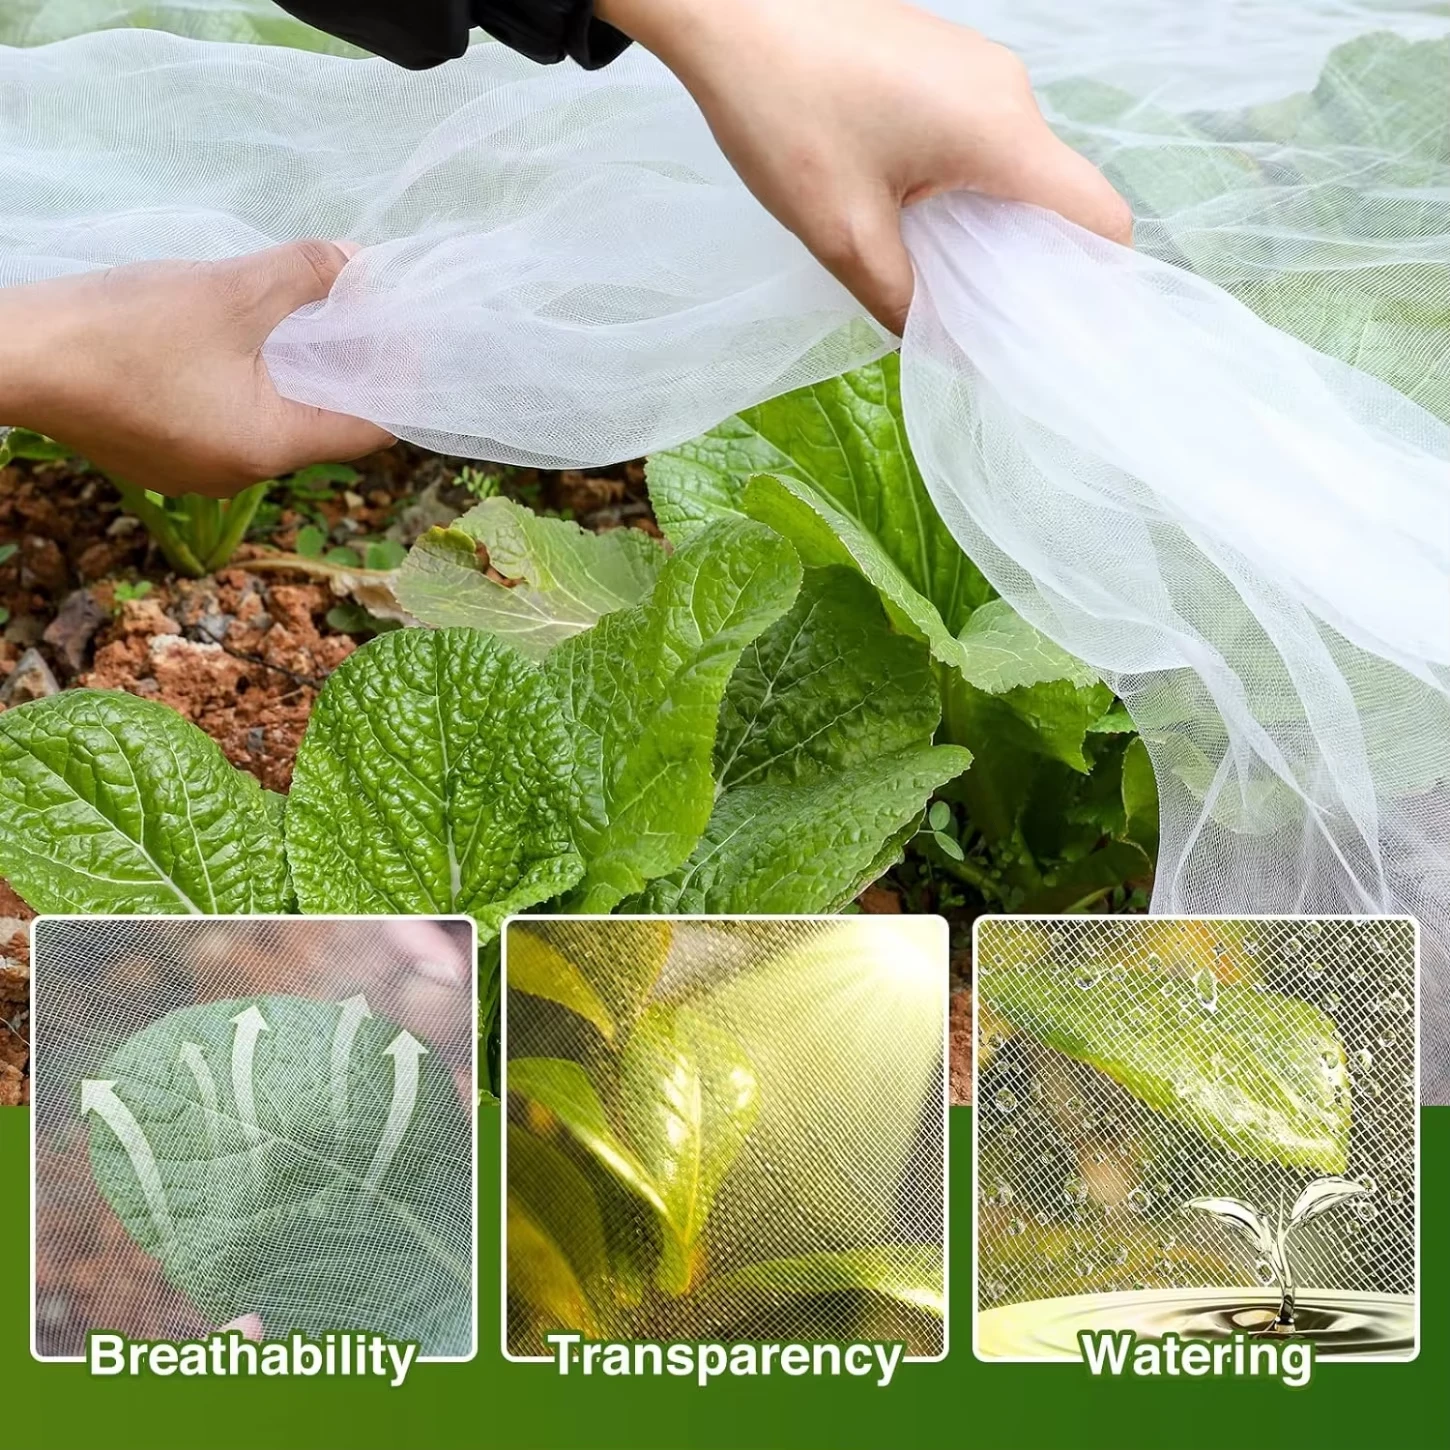
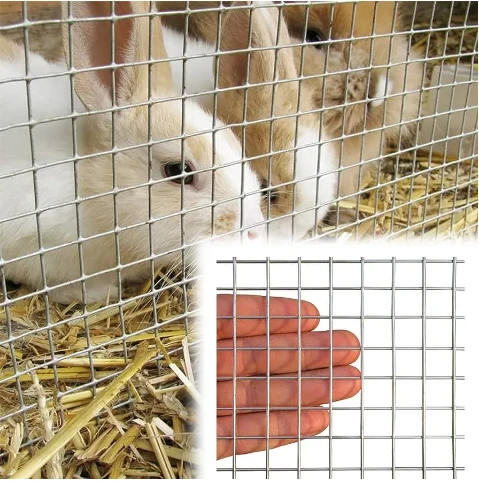
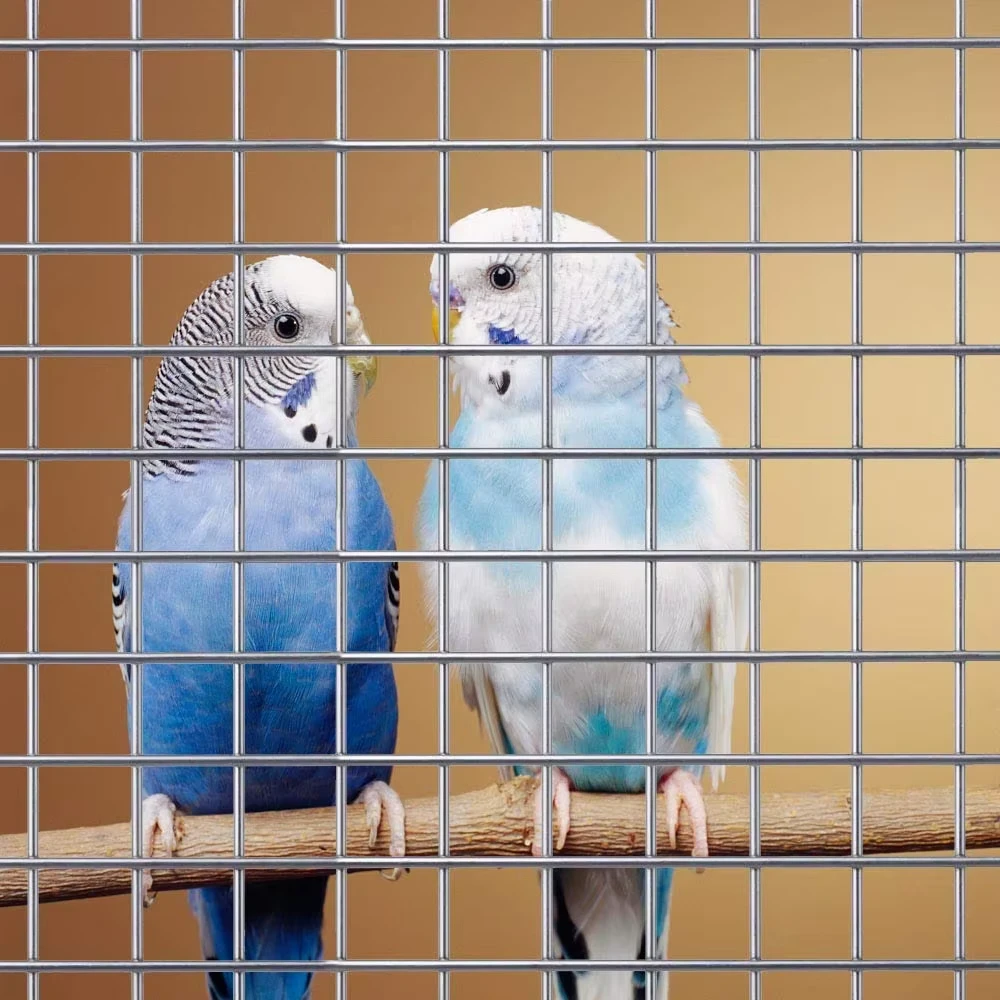
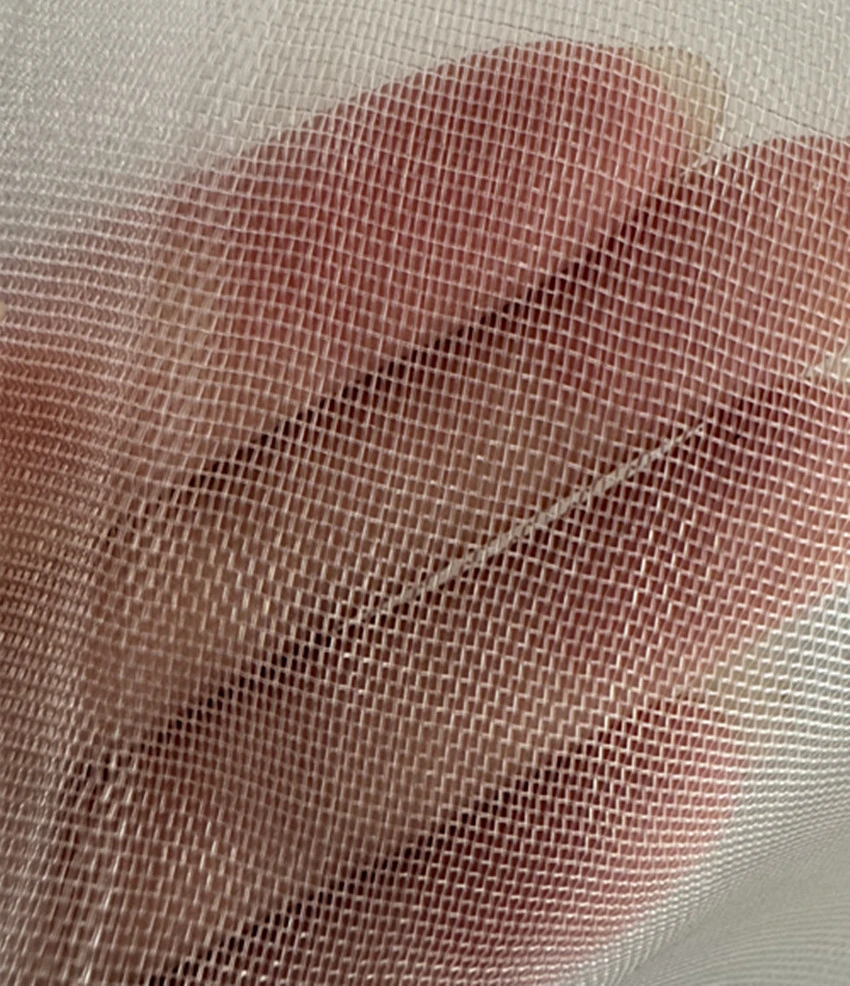
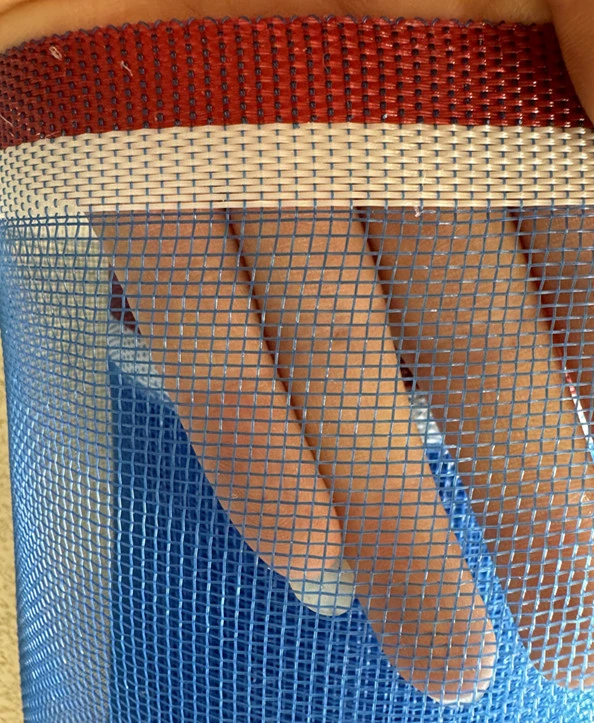
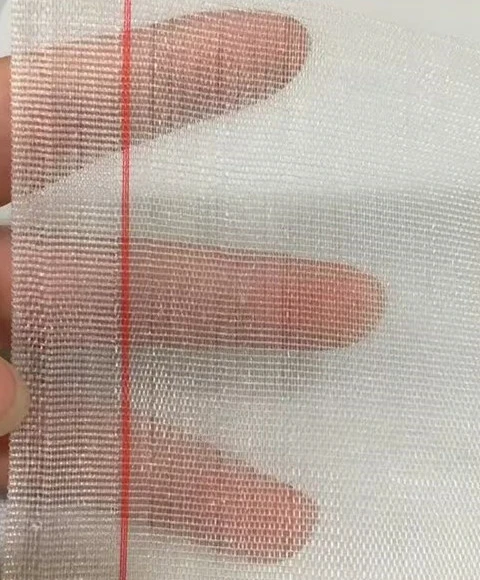
Bird netting is a lightweight, flexible material typically made of polyethylene or similar synthetic materials. It is designed to exclude birds while allowing light and air to penetrate, making it ideal for protecting plants without hindering their growth. There are various types of bird netting available, including fine netting for small birds like finches and thicker mesh for larger species such as pigeons and starlings.
Preparing for Installation
Before installing bird netting, it is crucial to assess the area you intend to protect. Here are some steps to help you prepare
1. Identify Problem Areas Determine which areas are most affected by birds and decide where to install the netting. Common areas include fruit trees, vegetable gardens, and outdoor patios.
2. Choose the Right Netting Based on the specific birds you are dealing with, select an appropriate type and size of netting. Check for UV-resistant and weatherproof options to ensure longevity.
3. Gather Necessary Tools Before starting the installation, gather the required tools, including scissors, measuring tape, stakes or poles, zip ties or clips, and a ladder for high installations.
Installation Steps
installing bird netting

Once you have prepared and gathered your materials, follow these steps to install the bird netting
1. Measure the Area Measure the dimensions of the area to be covered. Add extra length to ensure the netting can be securely anchored.
2. Cut the Netting Using scissors, cut the bird netting to the measured size. Be cautious not to damage the netting during this process.
3. Secure Support Structures If you are covering a large area, you may need to set up poles or stakes to create a frame for your netting. Ensure that these supports are sturdy enough to withstand strong winds and weather conditions.
4. Drape the Netting Carefully drape the netting over the structure. Make sure it extends to the ground on all sides to prevent birds from getting underneath.
5. Fasten the Netting Use zip ties or clips to secure the netting to the support structures. Ensure that the netting is taut but not overly tight, as this can lead to tears.
6. Check for Gaps Inspect the installation for any gaps or loose areas that birds could exploit. Tightly secure any loose ends and ensure the netting is firmly anchored to the ground.
7. Regular Maintenance Periodically check the netting for damage or wear, especially after storms or strong winds. Repair or replace sections as necessary to maintain its effectiveness.
Conclusion
Installing bird netting is an effective method to protect your gardens and crops from unwanted birds while ensuring they have access to sunlight and air. With the right preparation, tools, and careful installation, you can create a barrier that dissuades birds and promotes the health of your plants. By following these guidelines, you can enjoy a bird-free environment and protect your hard work from being compromised by feathered intruders. Happy gardening!
-
Shipping Plastic Bags for Every NeedNewsJul.24,2025
-
Safety Netting: Your Shield in ConstructionNewsJul.24,2025
-
Plastic Mesh Netting for Everyday UseNewsJul.24,2025
-
Nylon Netting for Every UseNewsJul.24,2025
-
Mesh Breeder Box for Fish TanksNewsJul.24,2025
-
Expanded Steel Mesh Offers Durable VersatilityNewsJul.24,2025


